




What to Expect During an Emergency HVAC Service Call for a Dead Thermostat
general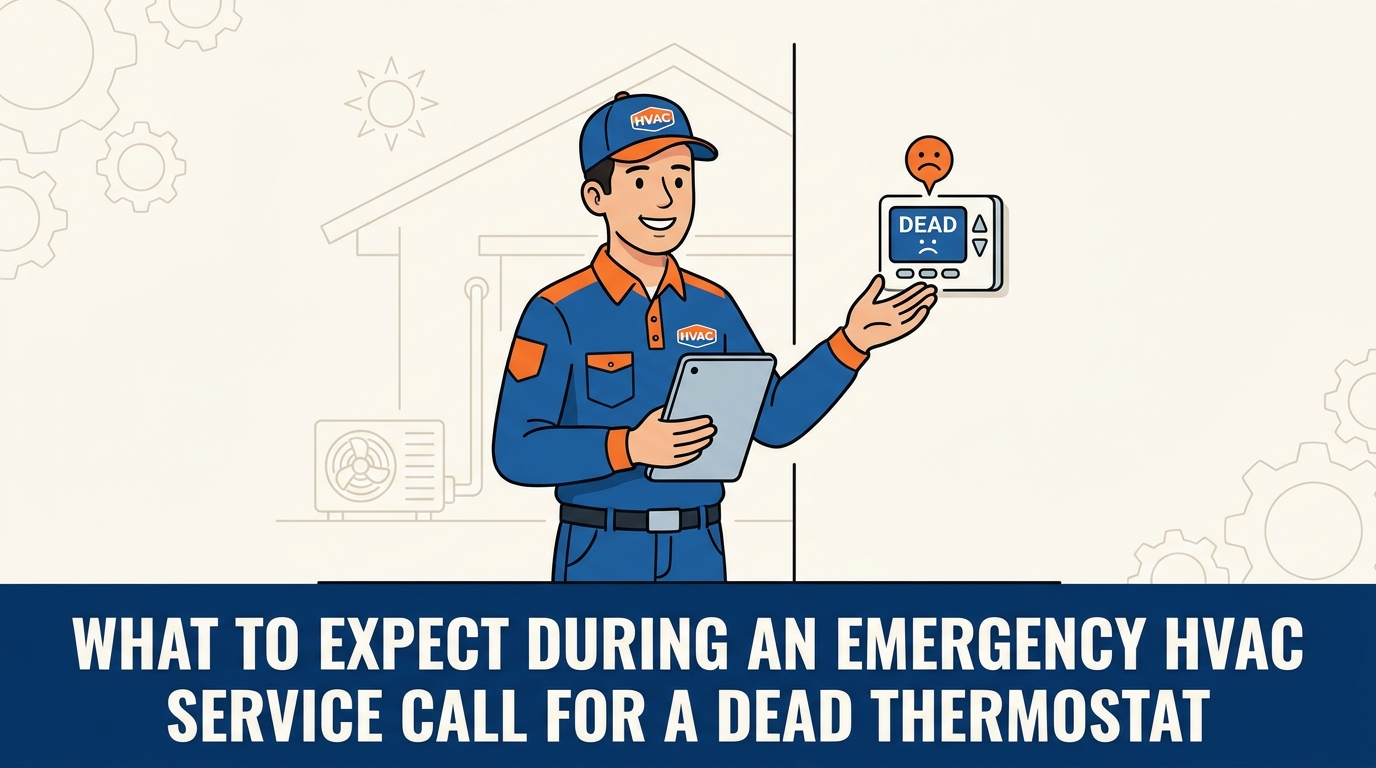
When the Screen Goes Blank: Facing a Dead Thermostat During Peak Heat
The middle of summer is the worst possible time for your air conditioning to fail, which is exactly why knowing what to expect during an emergency HVAC service call for a dead thermostat can help you stay calm while waiting for help to arrive. When the temperature inside your home is steadily climbing and your HVAC system goes completely unresponsive, a blank thermostat screen often feels like a major disaster. However, understanding the exact diagnostic and repair steps an emergency technician will take upon arrival reveals that this specific symptom is usually a built-in safety response rather than a catastrophic equipment failure.
A completely dead thermostat is rarely just a matter of needing fresh batteries, especially if your system is hardwired. Instead, it is usually a symptom of a broader system safeguard doing exactly what it was designed to do: shutting down the equipment to prevent dangerous electrical faults or severe water damage to your home. Because the thermostat acts as the brain of your heating and cooling system, any interruption in its power supply immediately halts all operations.
Professional technicians do not simply guess at the problem or immediately suggest replacing the thermostat on the wall. They follow a comprehensive, step-by-step diagnostic sequence to isolate the root cause safely. By systematically ruling out high-voltage electrical issues, drainage blockages, and low-voltage wiring faults, they ensure the actual problem is permanently resolved. Here is the clear, reassuring roadmap of what the technician will test first when they arrive at your home.
Step 1: Verifying Main Power and Circuit Breaker Integrity
The very first phase of any professional diagnostic sequence focuses entirely on high-voltage power verification. Technicians begin by ensuring that both the indoor air handler and the outdoor compressor are receiving the necessary 120-volt or 240-volt power from your home’s main electrical panel. Without this primary power source, the internal components that generate the lower voltage needed for the thermostat cannot function.
The Role of the Electrical Panel and Breakers
Your HVAC system relies on dedicated circuit breakers. If a power surge, a failing capacitor, or an overworked compressor causes the system to draw too much amperage, the breaker will trip to prevent an electrical fire. A tripped breaker cuts power to the entire indoor unit. Because the indoor unit supplies power to the thermostat, a tripped breaker naturally results in a completely dead thermostat screen.
To verify this, technicians use professional-grade multimeters to test the voltage at several key checkpoints:
- The main breaker panel: Confirming that the breaker itself has not failed and is properly outputting voltage.
- The indoor equipment disconnect: Checking the switch located near the air handler in your attic, basement, or closet to ensure power is reaching the unit.
- The outdoor disconnect box: Verifying that the compressor outside has the power it needs to operate once the thermostat calls for cooling.
If the technician finds that high-voltage power is present and flowing correctly past the breakers and disconnects, but the system remains completely unresponsive, the investigation immediately moves away from the main electrical supply. The technician now knows the issue lies within the system’s internal low-voltage components.
Step 2: Inspecting the Condensate Drain and Safety Float Switches
If the main power is fully operational, the next step addresses the most common seasonal cause of a dead thermostat: a tripped safety float switch. Modern HVAC systems utilize a 24-volt circuit that runs directly from the indoor air handler, through a specialized safety switch, and out to your thermostat. This switch is typically located inside the condensate drain pan or attached to the primary drain line.
How Condensation Shuts Down Your System
Hot and humid Massachusetts summers cause air conditioners to remove significantly more moisture from the indoor air. This moisture drips into a drain pan and flows outside through a PVC pipe. However, this increased volume of condensate water makes the system highly susceptible to clogs caused by algae growth, dirt, and debris. When the drain line clogs, water rapidly backs up into the drain pan.
Before that water can overflow and ruin your ceilings or floors, the safety float switch activates. As the water level rises, a small float inside the switch lifts, intentionally breaking the 24-volt low-voltage circuit. The moment this circuit is broken, the thermostat loses power and goes completely blank, shutting down the entire air conditioning system to stop the production of condensation.
The Technician’s Drain Inspection Process
During the service call, the technician will physically inspect the drain pan and the float switch housing. If they find standing water, the diagnosis is confirmed. The repair process involves:
- Using a specialized wet/dry vacuum to clear the blockage from the outside termination point of the drain line.
- Flushing the line with a specialized solution to remove residual algae and sludge.
- Resetting or replacing the float switch to restore the 24-volt connection to the thermostat.
Staying proactive with routine upkeep, such as cleaning and maintaining your AC, helps prevent these sudden drainage backups from occurring during the hottest weeks of the year.
Comparing Common Thermostat Symptoms
| Symptom Noticed | Likely High-Voltage Issue | Likely Drain / Safety Issue |
|---|---|---|
| Thermostat blank, no indoor fan, breaker tripped | Compressor short, failing blower motor | Unlikely |
| Thermostat blank, breaker on, water around unit | Unlikely | Clogged condensate line, tripped float switch |
| Thermostat blank, indoor fan running continuously | Unlikely | Thermostat unit failure or broken wire |
Step 3: Testing the 24-Volt Transformer and Control Board
If the drain pan is bone dry and the safety switches are perfectly intact, the diagnostic sequence moves deeper into the internal electronics of the indoor air handler. The technician must now evaluate the power conversion and distribution center of the HVAC system: the transformer and the main control board.
Evaluating the Transformer Output
Your home’s electrical system provides 120 or 240 volts of high-voltage power to the air handler. However, your thermostat cannot handle that level of electricity; it requires a steady 24 volts to operate safely. The 24-volt transformer is the component responsible for stepping down this high voltage into usable low voltage. Technicians will use their multimeter to test the primary side (incoming high voltage) and the secondary side (outgoing 24 volts) of the transformer. If the transformer is receiving power but outputting nothing, the transformer has failed and must be replaced to restore life to the thermostat.
Inspecting the Control Board and Fuses
If the transformer is successfully generating 24 volts, the technician turns their attention to the main control board. This board distributes the low-voltage power to the thermostat and receives the commands back to turn on the fan, heating, or cooling. The control board is protected by a small, automotive-style blade fuse—typically a 3-amp or 5-amp fuse.
Technicians will carefully pull this fuse and inspect it. A blown fuse immediately cuts all power to the thermostat, resulting in a blank screen. However, a professional technician knows that a fuse rarely blows for no reason. Simply replacing the fuse without further investigation will likely result in the new fuse blowing the moment the system turns back on.
Identifying a blown fuse prompts the technician to search for a short circuit somewhere in the low-voltage wiring. They will systematically disconnect wires from the control board to isolate which specific circuit (cooling, heating, or fan) is causing the electrical short, ensuring the underlying hazard is addressed before restoring power.
Step 4: Evaluating the Low-Voltage Thermostat Wiring
When the main power, drainage system, transformer, and control board fuses all pass inspection, the final phase of the diagnostic sequence focuses on the physical connection between the air handler and the thermostat unit itself. The low-voltage wiring (often an 18-gauge, multi-strand wire) runs through your walls, attics, and crawlspaces, making it vulnerable to various types of hidden damage.
Hunting Down Wiring Faults
Technicians will check the continuity of these thin wires to ensure a signal can travel uninterrupted from the control board to the wall unit. They are specifically looking for several common issues:
- Pest damage: Mice and squirrels frequently chew through the soft insulation of thermostat wires in attics, causing the bare copper to touch metal framing and short out the system.
- Chafing and vibration: Wires pulled too tightly against sharp metal edges inside the air handler cabinet can rub raw over time, eventually causing a short circuit.
- Loose terminal connections: The small screws holding the wires at the control board or behind the thermostat can vibrate loose over years of operation, breaking the electrical connection.
The Jumper Wire Test: Bypassing the Thermostat
To definitively prove whether the issue lies in the hidden wall wiring or the actual thermostat unit on your wall, the technician will perform a jumper test at the control board. By using a small wire to connect the power terminal (R) directly to the cooling terminal (Y) and fan terminal (G), they bypass the thermostat entirely.
If the air conditioning immediately roars to life during this jumper test, the technician has successfully isolated the problem. They now know the equipment itself is perfectly fine, and the fault lies exclusively in the wall wire or the thermostat head. This transparent, step-by-step emergency service process ensures they arrive fully prepared to diagnose systematically, putting stressed homeowners at ease. By isolating the exact point of failure, the technician prevents the unnecessary and costly replacement of a perfectly functioning thermostat.

In-Depth Answers to Emergency Thermostat Diagnostics
Why did my thermostat suddenly go blank?
A blank thermostat usually means a complete loss of 24-volt power from the indoor air handler. Common culprits include a tripped float switch in the drain pan, a blown fuse on the control board, or a tripped main circuit breaker in your electrical panel. Rather than a broken thermostat, it is almost always a safety mechanism doing its job to protect the system from electrical shorts or water damage.
Can a clogged AC drain cause a blank thermostat?
Yes, this is one of the most frequent causes of a dead thermostat during the humid summer months. A clogged drain causes condensation water to back up into the indoor drain pan, which trips the safety float switch. The switch immediately cuts power to the thermostat to shut down the air conditioner and prevent severe indoor flooding.
What does an HVAC tech check first on a service call?
Technicians always verify safety and high-voltage power first before dismantling any equipment. They check the main electrical panel breakers and the equipment disconnect boxes to ensure electricity is reaching the unit. Once high voltage is confirmed, they move to the low-voltage safety switches and the internal control board to find the exact point of failure.
How long does it take an HVAC tech to diagnose a dead thermostat?
A professional diagnostic sequence is highly structured, meaning a technician can typically identify the root cause within 30 to 60 minutes. Testing the breaker, drain lines, transformer, and wiring usually takes a predictable amount of time when following standard procedures. The primary goal is accuracy to ensure the root cause is permanently resolved rather than just temporarily patched.
Is a blank thermostat always an emergency?
During extreme heat, a lack of cooling quickly becomes a safety issue for the occupants of the home, making a blank thermostat an urgent priority. While the actual fix might be straightforward—like clearing a clogged drain line—the total loss of temperature control warrants an urgent professional response. Prompt service also prevents secondary issues like extreme indoor humidity and mold growth.
Restoring Your Comfort System Systematically
Losing your air conditioning in the middle of summer is incredibly stressful, but a dead thermostat is a highly solvable problem when approached with a structured, professional diagnostic process. By understanding exactly what to expect during an emergency HVAC service call for a dead thermostat, you can rest assured that your technician is following a precise roadmap to safely restore your cooling. Whether the culprit is a simple drain clog, a blown fuse, or a hidden wiring short, relying on expert diagnostics rather than guessing the cause guarantees a permanent fix. If your screen has gone blank and your home is heating up, schedule a professional inspection to get a clear, reassuring roadmap of what the technician will test first to bring your system back online safely.

Contact Us Today

Routine maintenance is vital for the longevity of your plumbing, heating, and air conditioning systems. Sign up for our Blue Care Maintenance Plan for annual service and exclusive membership benefits, including:
- Priority scheduling
- Waived service fee during normal business hours
- 10% discount on service calls
- 3% discount on new installations
- Two-year parts and labor warranty on new equipment